

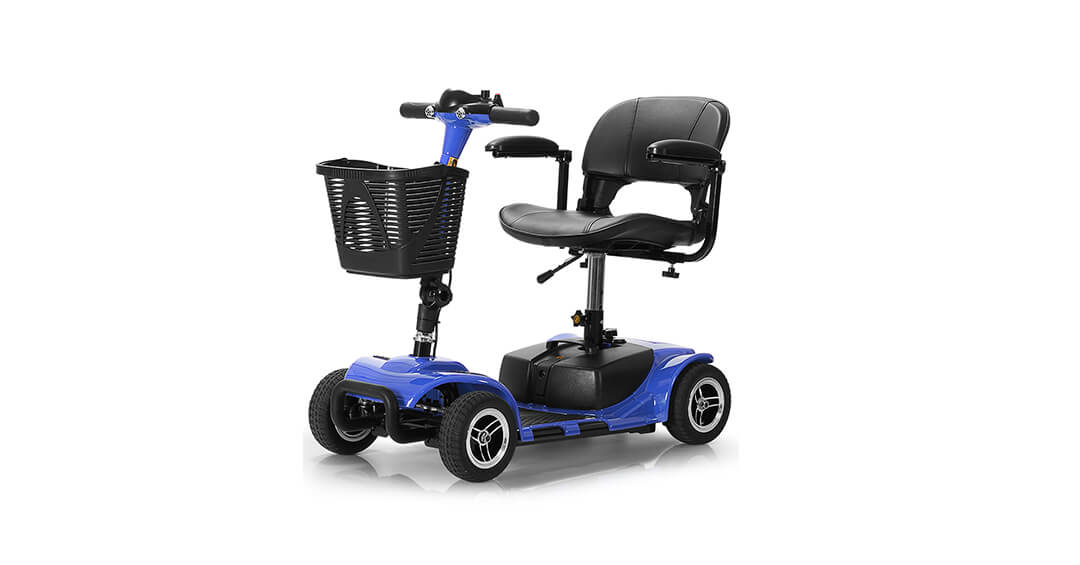
Assembling a mobility scooter might initially seem a complicated endeavor. However, fear not. Our detailed guide is here to shed light on the process, making it less daunting and more approachable. Unveiling a clear, straightforward manual of steps, we break down the task from unboxing through to fully-fledged operation. This guide's intention is to instill in you the confidence and competence needed to assemble your mobility scooter, whether it's a recent acquisition or a reassembly following maintenance. Let's embark on this practical assembly journey together.
Steps for Assembling a Mobility Scooter
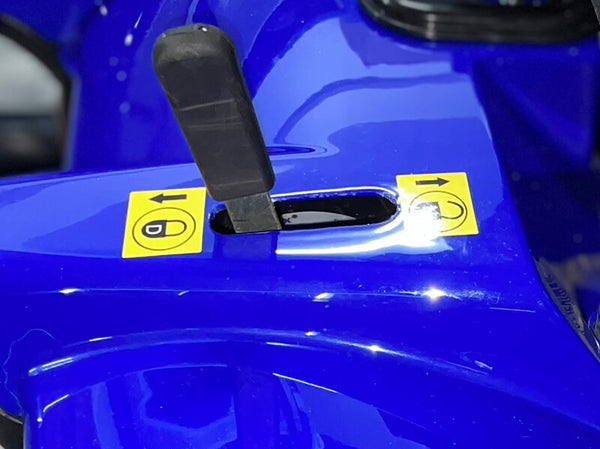
Step 1 - Secure the Wheels
Switch the brake button located at the rear end of the scooter to the lock position (mark D). This stabilizes the scooter during installation, preventing any unintentional movement that may cause damage or injury.
Step 2 - Adjust the Handlebar Position
Loosen the knob found at the base of the handlebar. Once adjusted to a suitable angle, retighten the knob to secure the handlebar in its right position.

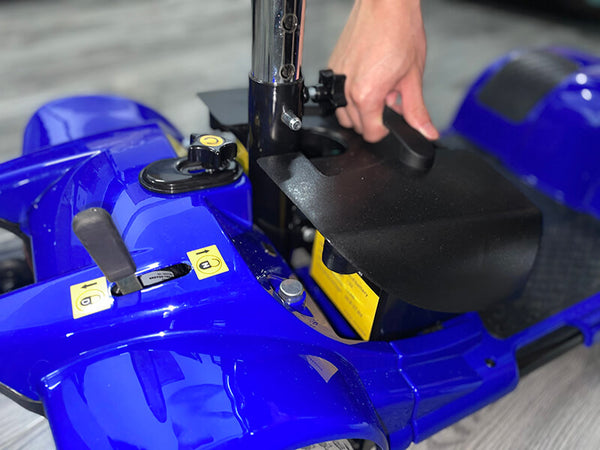
Step 3 - Install the Battery
Insert the battery in the intended slot beneath the seat. Use the accompanying fixtures to fasten it securely.
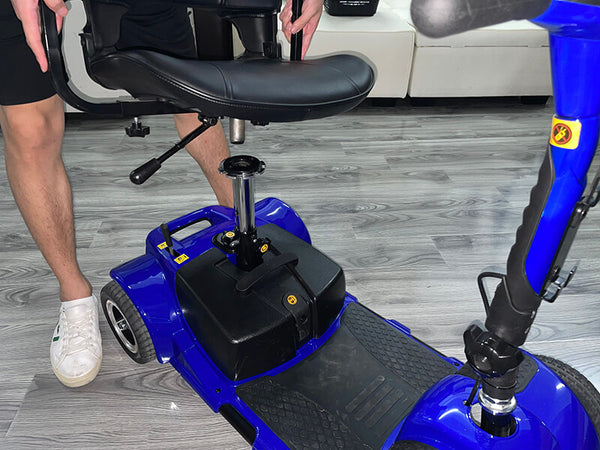
Step 4 - Set Up the Seat and Armrests
Begin with the installation of the seat tube. Height adjustment is crucial for comfort; once you find the right elevation, secure it with the supplied fixtures. Align the seat with the fitted holes before installing. Following this, attach the armrests on either side of the seat.
Step 5 - Attach the Basket
Step 6 - Complete and Explore
Your installation is now complete! Insert the scooter key, adjust the speed dial, and you're all set to explore at your pace!
Assembling Mobility Scooter Video
Please note that the assembly instructions mentioned herein serve as a guideline for assembling the Soulout mobility scooter. Keep in mind, other brands may present minor differences in their respective disassembly routines.
FAQs
Why won't my mobility scooter move forward or back when it's fully charged?
The most plausible explanation could be related to Brake Release: If the scooter's brakes are in the freewheel mode (typically used when the scooter is not powered to move it around manually), it won't move. Ensure that the brake lever is in the drive position.
Furthermore, potential internal issues with the motor, throttle controller, wiring, and axles warrant a comprehensive inspection and necessary repairs, ideally performed by the manufacturer's service team.
How do you charge the battery?
Charging your mobility scooter can be accomplished directly, with the battery either in or out of the scooter, depending on your personal convenience and circumstances. If it's challenging to manoeuvre the entire scooter into the room where you plan to charge it, removing the battery for separate charging is a viable and straightforward solution.
How to disassemble the mobility scooter?
If you've successfully assembled your mobility scooter, disassembly should naturally be within your skillset. Essentially, the dismantling process is just a reversal of the assembly steps.


Leave a comment
All comments are moderated before being published.
This site is protected by hCaptcha and the hCaptcha Privacy Policy and Terms of Service apply.